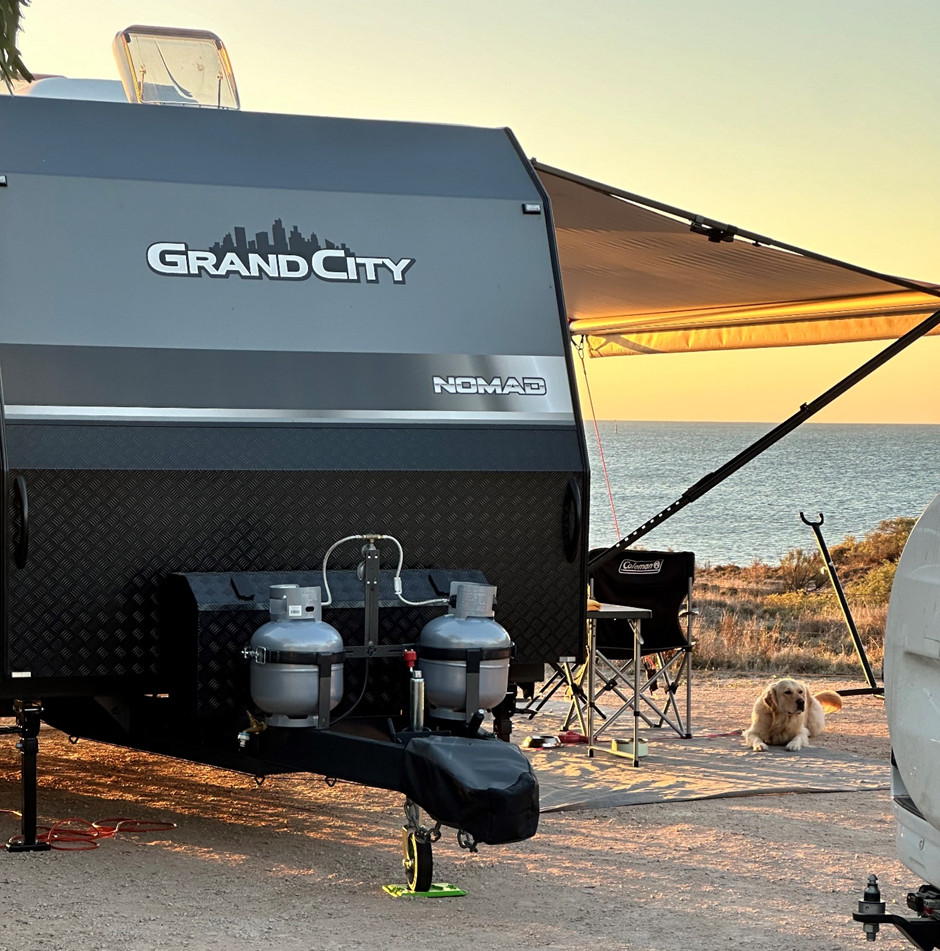
In recent years, the demand for reliable internet access while travelling has surged, especially for caravan enthusiasts who enjoy staying connected on the go. After the impacts of COVID-19, working remotely became the new norm for many, and has enabled people to take their jobs on the road full-time. At Grand Caravans, we can help you stay connected by professionally setting up Starlink in your caravan, ensuring you have high-speed internet wherever your adventures take you.
Starlink by SpaceX offers a game-changing solution for caravanners. We understand the importance of staying connected, and that’s why we offer full starlink set-ups across our range. In addition to this, we’ve put together this guide to help you set up Starlink in your caravan.
What is Starlink?
Starlink is a satellite internet service developed by SpaceX. Unlike traditional satellite internet, which relies on a few high-orbit satellites, Starlink uses a constellation of thousands of low-Earth orbit (LEO) satellites. This allows for faster speeds, lower latency, and greater coverage, even in remote areas where traditional internet services are unavailable.
Why Choose Starlink for Your Caravan?
- Global Coverage: Starlink provides internet access in many parts of the world, making it ideal for caravanners who travel to remote or rural locations.
- High-Speed Internet: With download speeds typically ranging from 100 to 200 Mbps, Starlink allows you to stream, browse, and work online with ease.
- Low Latency: Unlike traditional satellite internet, Starlink offers lower latency, making it suitable for video calls, online gaming, and other real-time applications.
- Portability: Starlink’s portability feature allows you to take your internet connection with you, no matter where your travels take you.
- Off-Road Connection: We offer off-road caravans across our range, allowing you internet connection even while you’re way off the beaten track.
What You’ll Need
Before using your Starlink, we can make sure you have the following:
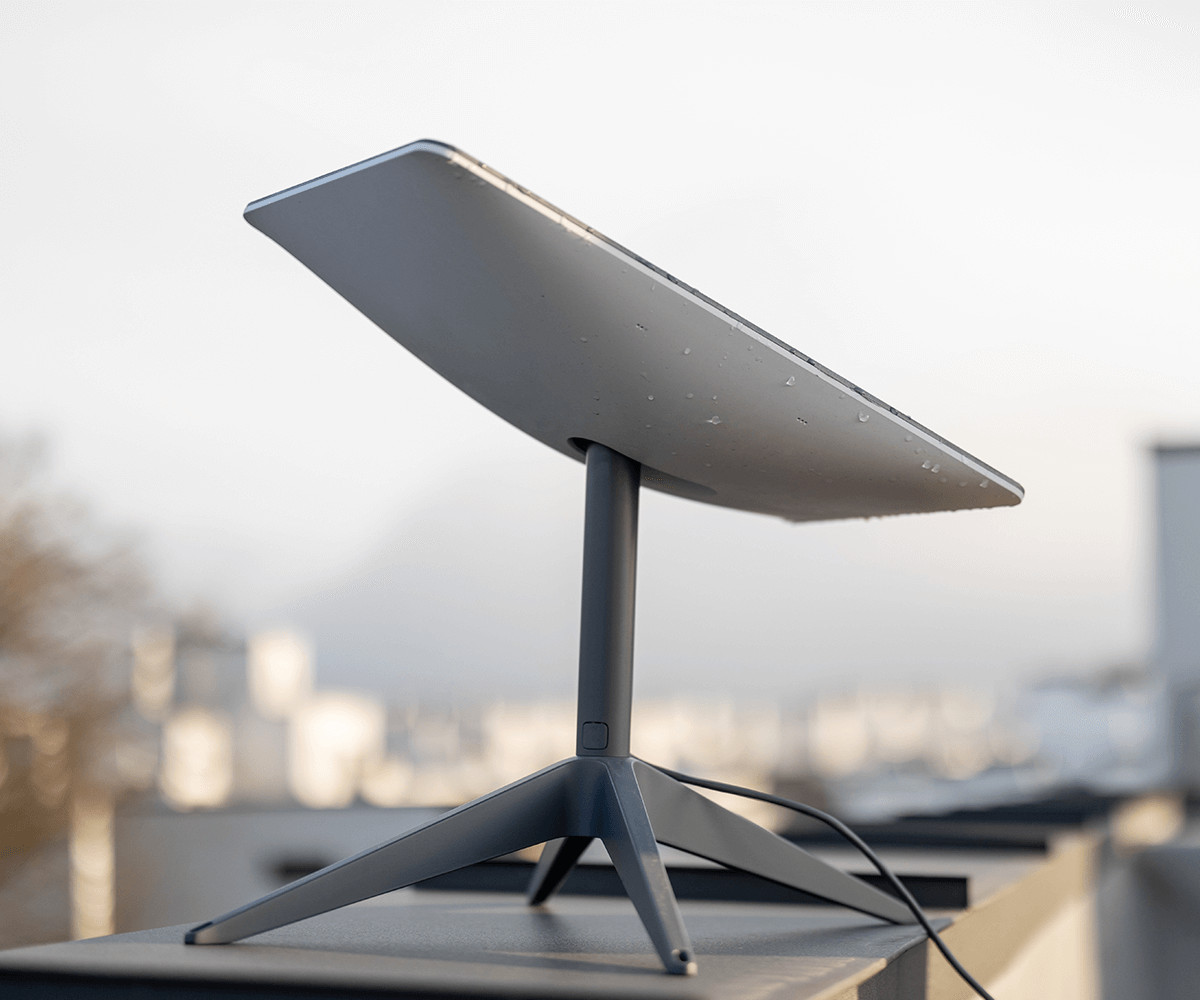
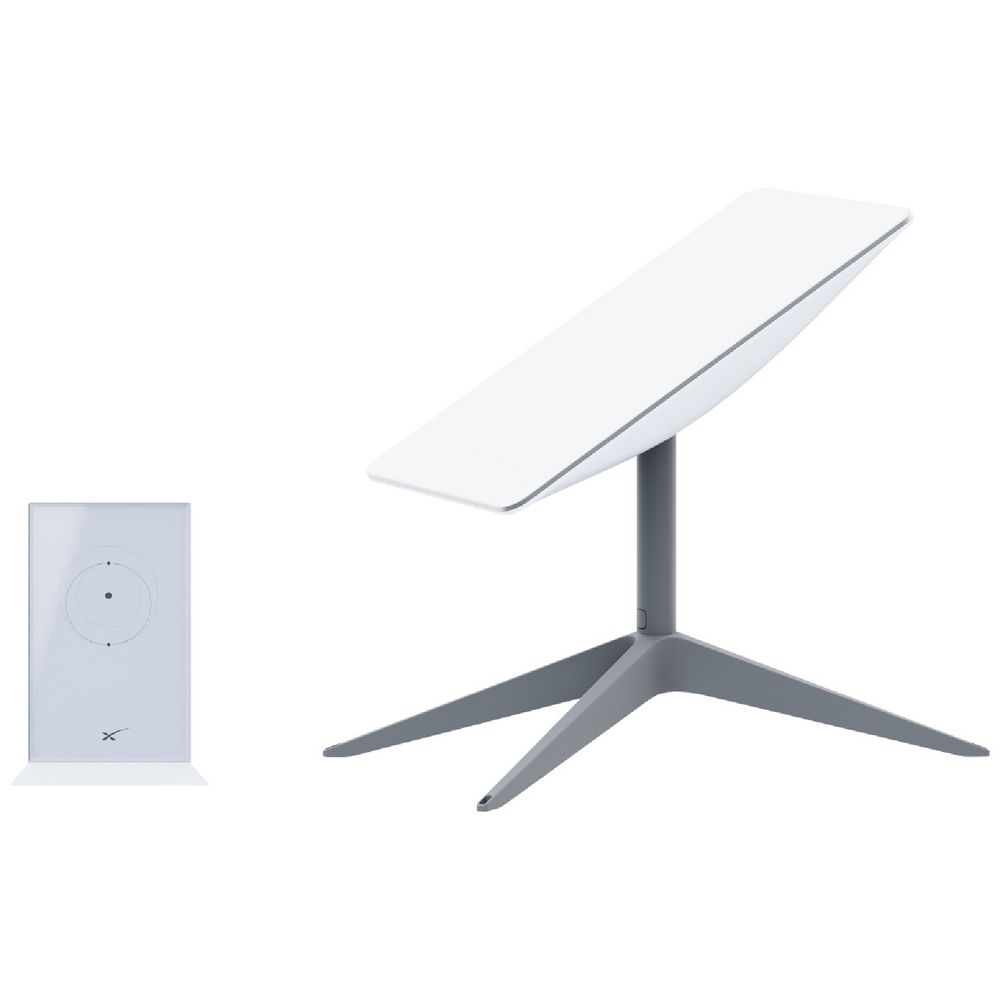
- Starlink Kit: This includes the Starlink dish, Wi-Fi router, power supply, and mounting tripod.
- Power Source: A reliable power source to power the Starlink equipment.
- Telescopic Starlink Mount Pole: An adjustable pole designed to hold the Starlink satellite dish at an elevated position, in an unobstructed view of the sky to connect to satellites.
Step-by-Step Setup Guide
1. Choose the Right Spot for Your Dish
The Starlink dish (also known as “Dishy”) needs a clear, unobstructed view of the sky to function properly. When choosing a spot to set up your dish, look for an area away from trees, buildings, or other potential obstructions. If your caravan is parked in a densely wooded area, you may need to relocate to achieve a better connection.
2. Mount the Dish
Once you’ve chosen the right spot, it’s time to mount the dish. The Starlink kit comes with a tripod that can be set up on the ground near your caravan. For a more permanent setup, you might consider mounting the dish on the roof of your caravan using an optional roof mount. Be sure to secure the dish firmly to prevent it from shifting in windy conditions.
3. Connect the Dish to the Router
Using the provided cable, connect the dish to the Starlink router. The cable is designed to be weather-resistant, so it can be run outside your caravan. Once connected, plug the router into your power source. The router will automatically start searching for a satellite connection.
4. Power Up and Connect
With everything connected, power up the system. The dish will automatically align itself to the best position for satellite communication. This process can take several minutes, so be patient.
Once the dish is aligned and the connection is established, the Starlink router will broadcast a Wi-Fi signal. You can connect your devices to this network just like any other Wi-Fi network. The default network name and password can be found on the bottom of the router, but you can customise these settings through the Starlink app.
5. Test Your Connection
After the setup is complete, it’s time to test your connection. Use a speed test tool to check your download and upload speeds. You should see speeds between 100 to 200 Mbps, depending on your location and network conditions. If you’re experiencing slower speeds, try relocating the dish to a different spot or adjusting its position.
6. Optimise Your Setup
For the best performance, ensure your Starlink dish remains in a clear line of sight to the sky. Avoid placing it near large metal objects or other sources of interference. You can also use the Starlink app to check for obstructions and optimise your dish’s placement.
Troubleshooting Common Issues
- Poor Signal Strength: If you’re experiencing weak signal strength, ensure there are no obstructions blocking the dish’s view of the sky. Consider moving the dish to a higher location or a different spot.
- Intermittent Connection: If your connection drops frequently, check for any loose cables or power issues. Make sure the dish is securely mounted and not shifting in the wind.
- Slow Speeds: Slow speeds can be caused by network congestion or obstructions. Try relocating the dish or adjusting its angle to improve signal strength.
Conclusion
Setting up Starlink in your caravan is a straightforward process that can greatly enhance your travel experience. With high-speed internet access wherever you go, you’ll enjoy the freedom to work, play, and stay connected on the road. At Grand Caravans, we’re here to support your adventures with the best tips and advice. So, pack up, hit the road, and enjoy the endless possibilities that Starlink brings to your caravan lifestyle!
Still curious about the Starlink setup we offer? Contact us or join our Grand Caravan Owners Community for tips, expert advice from GCC owners, and insider updates!